Processing...
Please wait while we handle the request.
Craft & Send Pitches
This guide covers the "Craft" pillar of the Podseeker workflow. Here, you'll learn how to set up your outreach tools, use our AI Co-pilot to generate high-quality first drafts, and send professional, tracked emails directly from the platform.
1. Set Up Your Outreach Tools (One-Time Setup)
Before you send your first pitch, take a few minutes to set up two powerful features. This will save you hours in the long run.
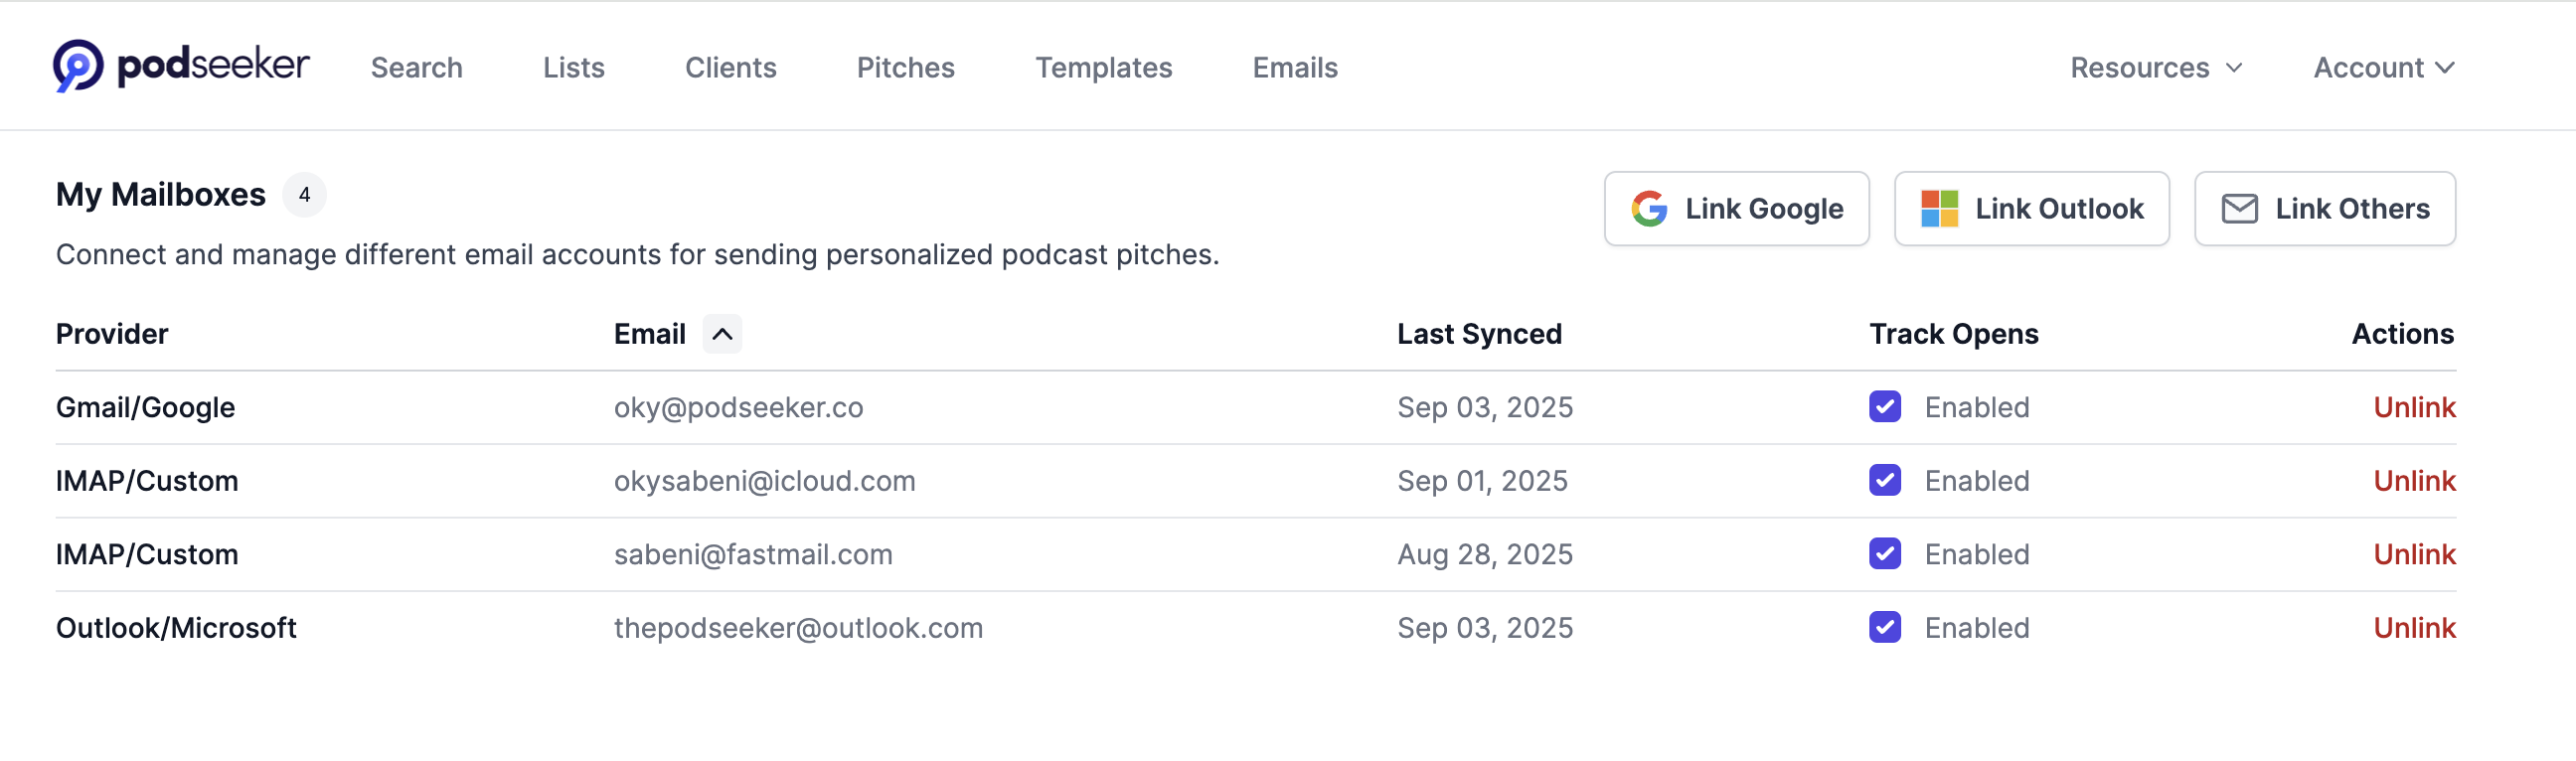
1.1. Connect Your Mailbox
Connecting your mailbox is the key to unlocking Podseeker's full power. It allows you to send pitches from your own professional email address and track the entire conversation in one place.
- Navigate to Account → Mailboxes in the top-right menu.
- Click to link your account. We support Google, Outlook, and other providers like iCloud and Fastmail via our Custom IMAP integration.
- Follow the on-screen prompts to securely authorize your account.
1.2. Create Reusable Client Profiles
If you're pitching on behalf of clients (or even just different facets of your own brand), Client Profiles are a huge time-saver.
- Navigate to Clients in the main navigation bar.
- Click "Add client" and fill in their name and a detailed bio. This bio should highlight their expertise, key talking points, and what makes them a compelling guest.
- Save the profile. Now you can select it from a dropdown every time you create a new pitch, auto-filling their information.
2. The Pitching Workflow: Create, Refine, Send

With your tools set up, crafting a new pitch is a simple, three-step process.
2.1. Create a Pitch with the AI Co-pilot
From any podcast's profile page, you have two options: "Write Pitch Manually" for full control, or "Write Pitch with AI" to get a powerful first draft. When using the AI Co-pilot:
- Select your pre-made Client Profile from the dropdown.
- Provide specific instructions to the AI in the text box (e.g., "Focus on my client's experience in scaling SaaS startups," or "Mention their new book on leadership").
- Click "Create Pitch." The AI will analyze the podcast's content and your client's bio to generate a relevant, personalized draft.
2.2. Refine in the Pitch Workspace
After generation, you'll land in the Pitch Workspace. This is your dedicated area for perfecting the pitch.
- Review the Draft: Read the AI-generated text. It's designed to be a strong starting point.
- Iterate with Feedback: Use the "Refine with AI" box to give the Co-pilot further instructions ("Make it more concise," "Add a question about their recent episode with...").
- Edit Manually: You always have full control. Click into the draft to add your personal touch, correct details, and ensure the tone is perfect.
2.3. Send Your Pitch
Once you're happy with the draft, it's time to send.
- In the Pitch Workspace, click "Finalize & Send".
- Select your connected mailbox from the "From" dropdown.
- Confirm the recipient's email and customize the subject line.
- Give it one final read-through and click "Send Pitch".
The email is now sent from your own address, and the entire conversation will be tracked within Podseeker, which we'll cover in the next guide on Campaign Management.
Best Practices for Crafting Pitches
- Invest in a Great Client Bio: The quality of the AI's output is directly related to the quality of the input. A detailed bio with specific expertise and talking points will generate far better pitches.
- Be a Co-pilot, Not a Passenger: The AI is there to do the heavy lifting, but your expertise is what makes a pitch truly great. Always review, refine, and add a personal touch that shows you've done your homework.
- Use Pitch Templates for Consistency: For common outreach scenarios, create a template in the Templates section. You can then use this as a starting point for the AI, ensuring brand consistency across all your pitches.